Mastering Precision: How ControlNet++ Revolutionizes Conditional Image Generation
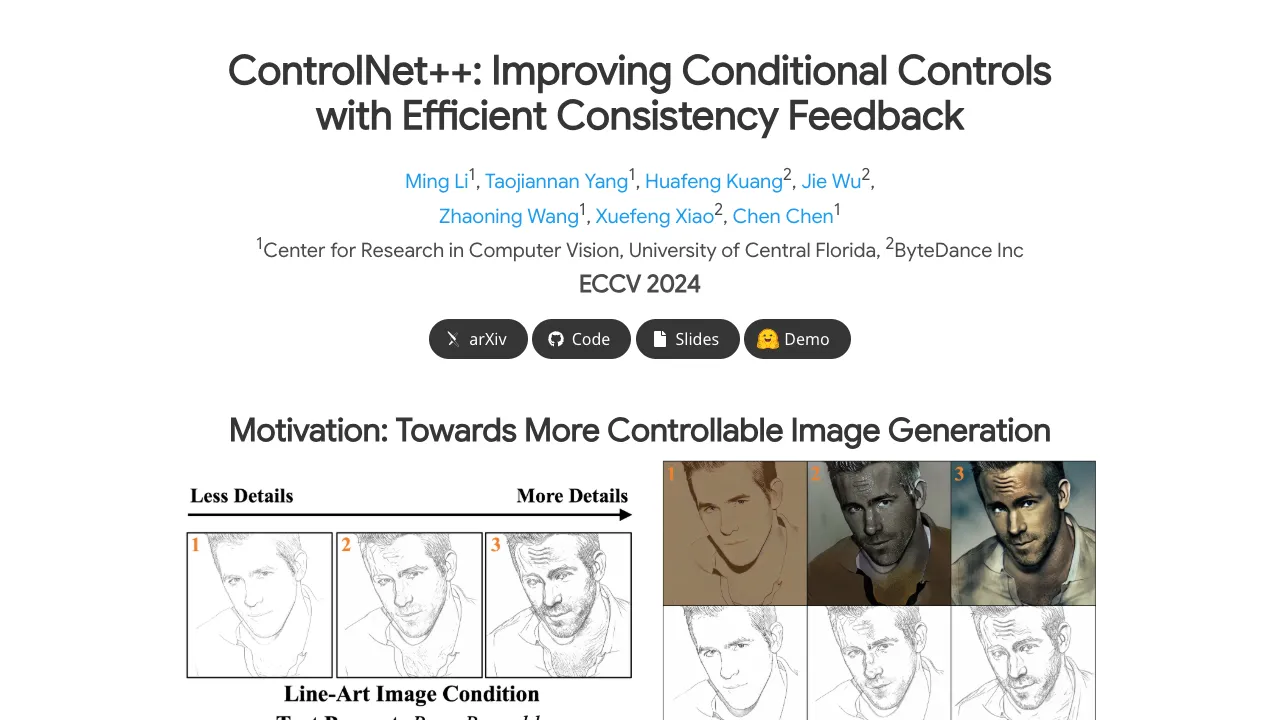
What is ControlNet++ for Precise Conditional Image Generation
ControlNet++ is a method that helps text-to-image tools follow a guide image much better. Think of simple guides like edges, depth maps, or a mask that shapes the layout. ControlNet++ makes the final image stick closely to that guide while keeping image quality high.
It does this by checking, at the pixel level, how well the output matches the input guide. Then it learns from that feedback to improve. It also uses a smart trick to make training faster and lighter on memory.
ControlNet++ Overview
Here is a quick look at the project.
| Item | Details |
|---|---|
| Type | Research code for controllable text-to-image generation (ECCV 2024) |
| Purpose | Make generated images match input guides (edges, depth, masks) more closely |
| Inputs | Text prompt + image-based condition (segmentation mask, edge map, depth, line art, HED) |
| Outputs | Generated image that follows the input condition with strong pixel-level match |
| Main Features | - Stronger control over layout and shapes |
| Training Setup | 8× A100 80G GPUs by default, supports smaller setups via batch and gradient tweaks |
| Reported Gains | +7.9% mIoU (segmentation), +13.4% SSIM (line-art edges), -7.6% RMSE (depth), vs. ControlNet |
| Project Page | https://liming-ai.github.io/ControlNet_Plus_Plus/ |
| Code | https://github.com/liming-ai/ControlNet_Plus_Plus |
If you want a broader view of large-scale AI tools in the industry, check our short overview here: Bytedance.
ControlNet++ Key Features
- Stronger control from guides: Keeps the generated image closely aligned with your mask, edge map, or depth map.
- Fast reward training: Uses a single-step denoise for feedback, which saves time and memory.
- Works across tasks: Segmentation, canny edges, depth, HED, and line drawing are all supported.
- Quality kept in check: Improves control while keeping image quality strong.
ControlNet++ Use Cases
- Design layout with a segmentation mask and keep the final image faithful to it.
- Turn rough line art or canny edges into rich images while staying close to the lines.
- Use a depth map to control the scene structure and scale in the final image.
- Produce consistent edits based on a sketch, an outline, or a binary mask.
For readers interested in moving images, here is a quick read on practical video generation ideas: Goku Video Generation.
Installation & Setup
Follow these steps exactly.
1) Environment setup
git clone https://github.com/liming-ai/ControlNet_Plus_Plus.git
pip3 install -r requirements.txt
pip3 install -U openmim
mim install mmengine
mim install "mmcv==2.1.0"
pip3 install "mmsegmentation>=1.0.0"
pip3 install mmdet
pip3 install clean-fid
pip3 install torchmetrics
2) Data preparation
All the organized data has been put on Huggingface and will be automatically downloaded during training or evaluation. You can preview it in advance to check the data samples and disk space occupied with following links.
3) Training
By default, training is based on 8 A100-80G GPUs. If your machine is smaller, reduce the batch size and increase gradient accumulation. Lowering the training resolution will reduce performance.
For segmentation tasks (two-stage: normal fine-tune on each dataset, then reward fine-tune):
# Please refer to the reward script for details
bash train/reward_ade20k.sh
bash train/reward_cocostuff.sh
For other tasks (direct reward fine-tune):
bash train/reward_canny.sh
bash train/reward_depth.sh
bash train/reward_hed.sh
bash train/reward_linedrawing.sh
4) Core code flow
Step 1: Predict the single-step denoised RGB image with noise sampler:
# Predict the single-step denoised latents
pred_original_sample = [
 noise_scheduler.step(noise, t, noisy_latent).pred_original_sample.to(weight_dtype) \
 for (noise, t, noisy_latent) in zip(model_pred, timesteps, noisy_latents)
]
pred_original_sample = torch.stack(pred_original_sample)

# Map the denoised latents into RGB images
pred_original_sample = 1 / vae.config.scaling_factor * pred_original_sample
image = vae.decode(pred_original_sample.to(weight_dtype)).sample
image = (image / 2 + 0.5).clamp(0, 1)
Step 2: Normalize the single-step denoised images according to different reward models
# The normalization depends on different reward models.
if args.task_name == 'depth':
 image = torchvision.transforms.functional.resize(image, (384, 384))
 image = normalize(image, (0.5, 0.5, 0.5), (0.5, 0.5, 0.5))
elif args.task_name in ['canny', 'lineart', 'hed']:
 pass
else:
 image = normalize(image, (0.485, 0.456, 0.406), (0.229, 0.224, 0.225))
Step 3: Apply both diffusion training loss and reward loss:
# reward model inference
if args.task_name == 'canny':
 outputs = reward_model(image.to(accelerator.device), low_threshold, high_threshold)
else:
 outputs = reward_model(image.to(accelerator.device))

# Determine which samples in the current batch need to calculate reward loss
timestep_mask = (args.min_timestep_rewarding <= timesteps.reshape(-1, 1)) & (timesteps.reshape(-1, 1) <= args.max_timestep_rewarding)

# Calculate reward loss
reward_loss = get_reward_loss(outputs, labels, args.task_name, reduction='none')

# Calculate final loss
reward_loss = reward_loss.reshape_as(timestep_mask)
reward_loss = (timestep_mask * reward_loss).sum() / (timestep_mask.sum() + 1e-10)
loss = pretrain_loss + reward_loss * args.grad_scale
5) Evaluation
Prepare checkpoints by placing model weights into the folders expected by the test scripts. Then run:
bash eval/eval_ade20k.sh
bash eval/eval_cocostuff.sh
bash eval/eval_canny.sh
bash eval/eval_depth.sh
bash eval/eval_hed.sh
bash eval/eval_linedrawing.sh
Note on segmentation mIoU: early results in arXiv v1 used .jpg for images and labels, which caused errors. The team re-tested with .png for both images and labels and fixed the numbers in the latest arXiv and ECCV camera-ready. Other methods and metrics (Gligen/T2I-Adapter/UniControl/UniControlNet, FID, CLIP-score) were not affected.
To evaluate CLIP-Score and FID: please refer to the provided code in the repo.
6) Inference
Use the Inference Branch in the repo or try the online Huggingface demo.
How ControlNet++ Works
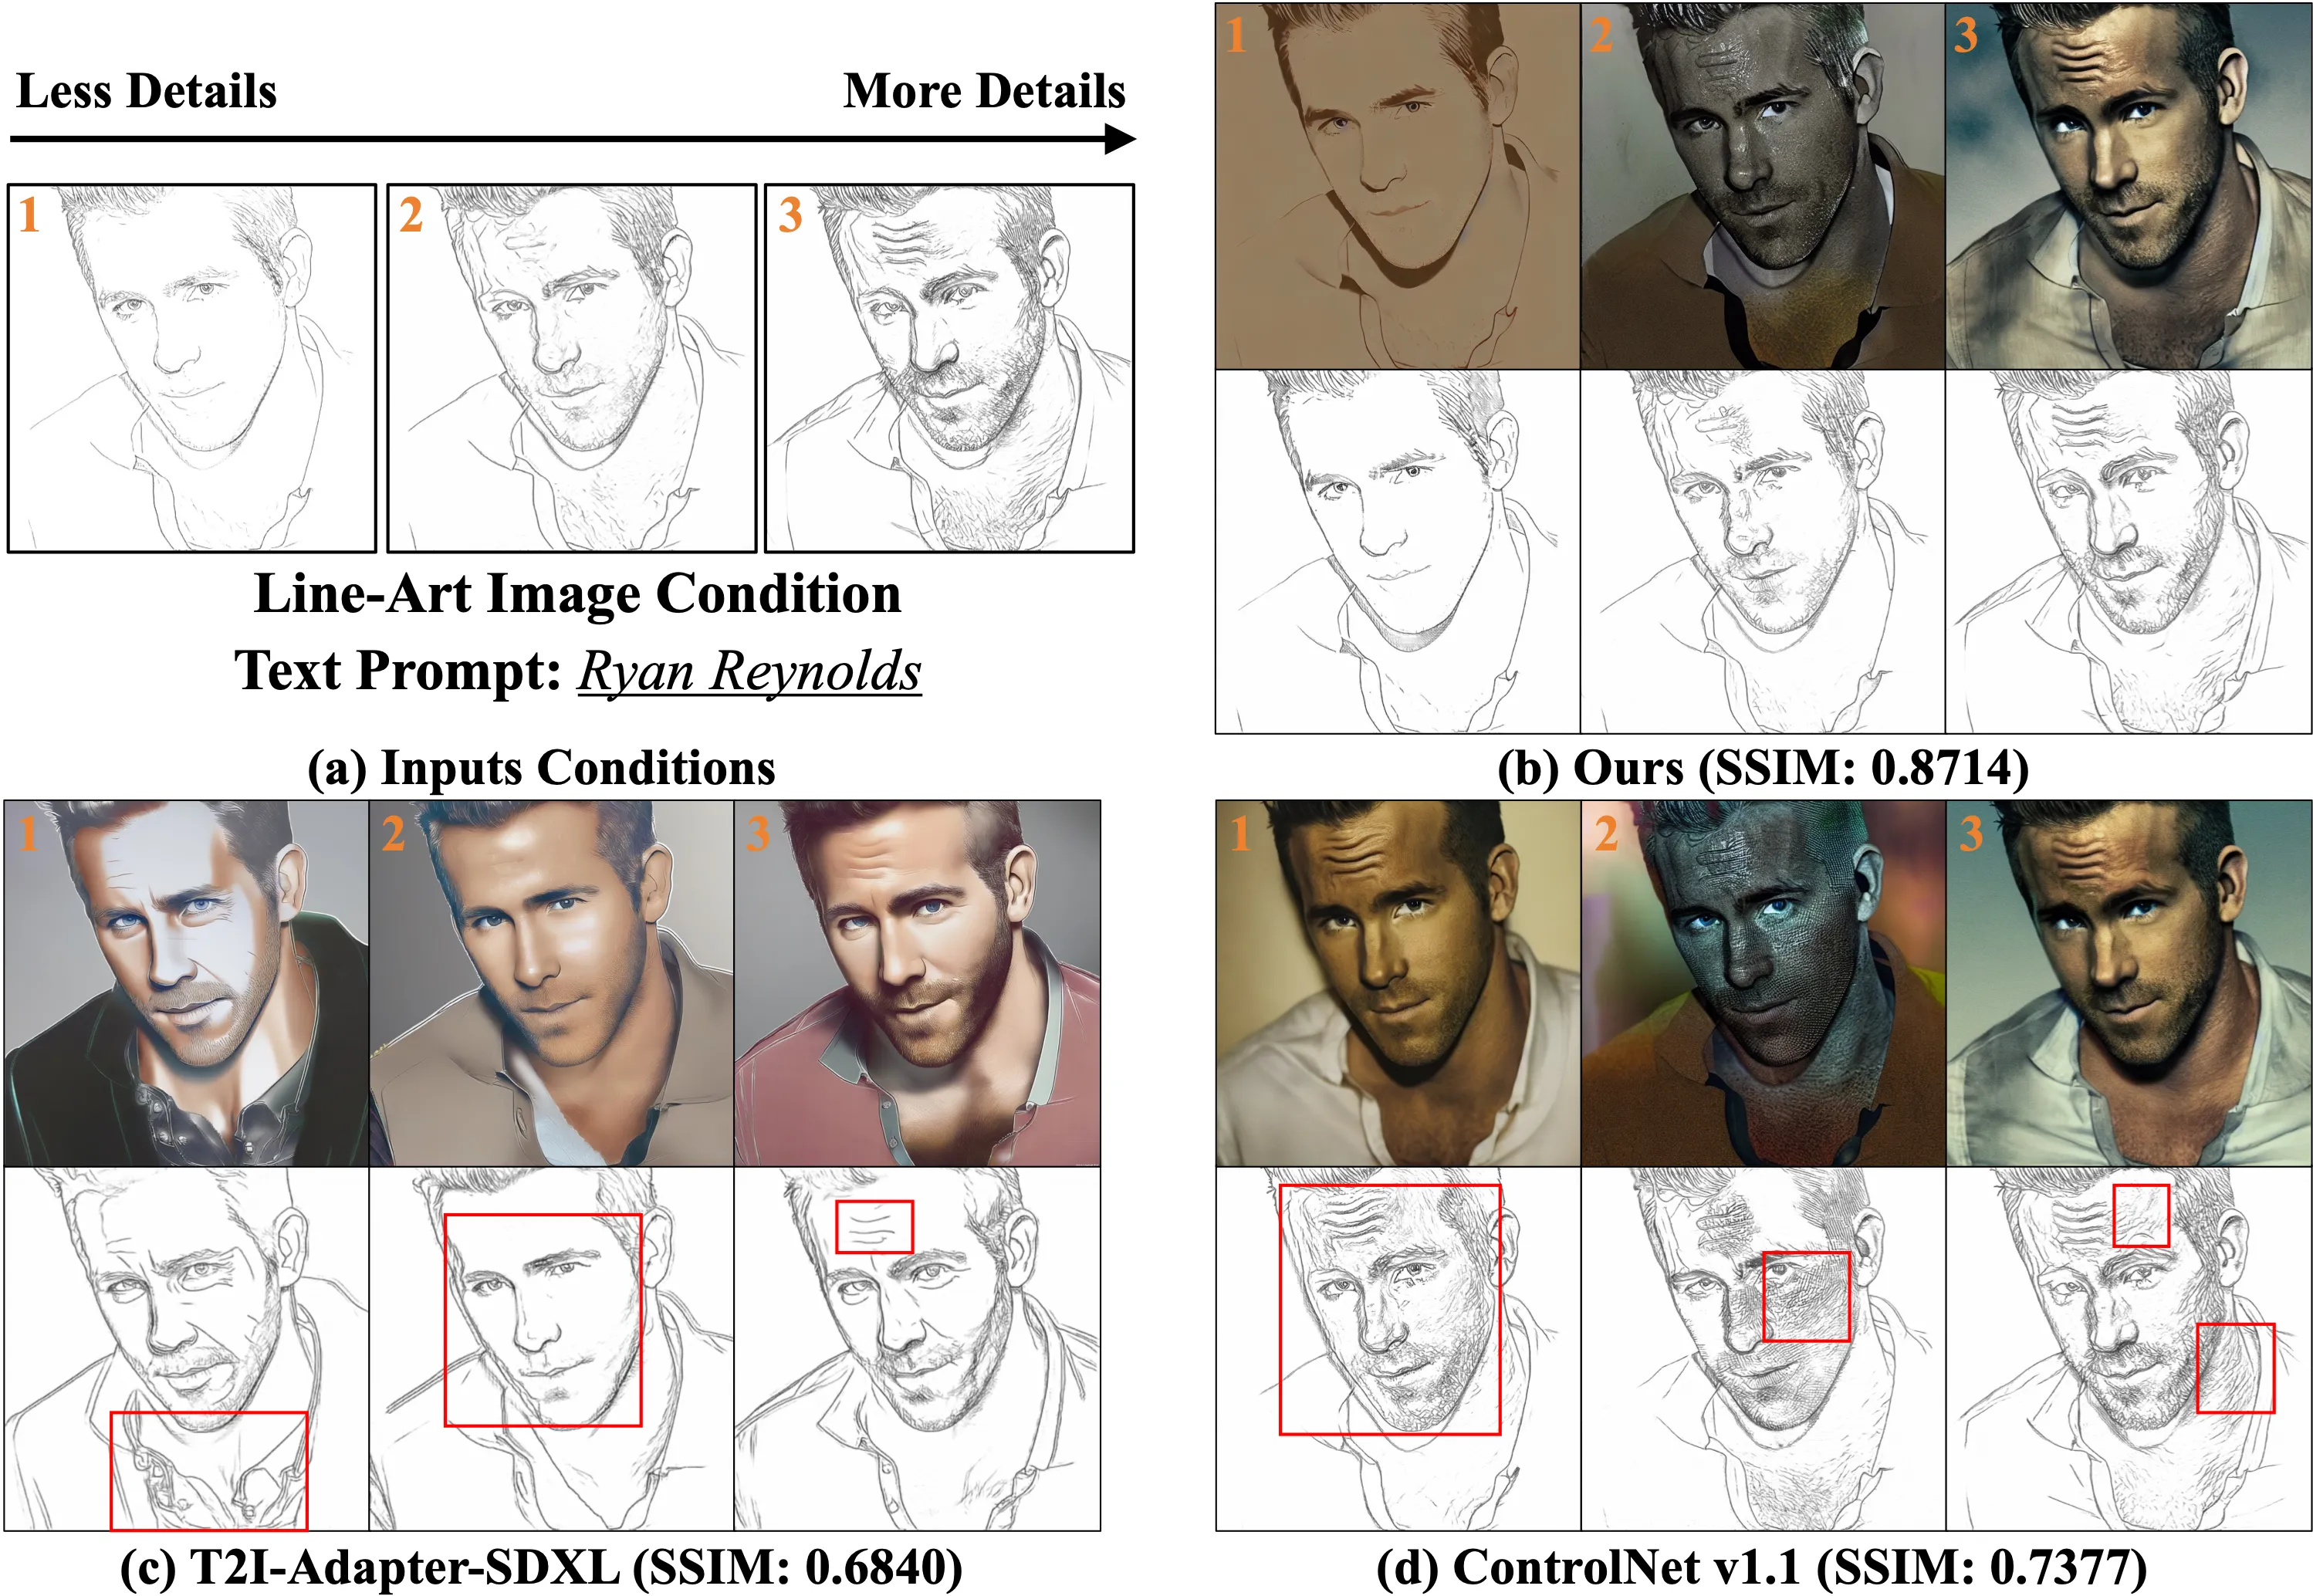
Most control methods add a guide image (like edges or a mask) into the image generator. The issue is, the final image can still drift away from that guide. ControlNet++ fixes this by checking consistency at the pixel level and learning from that signal.
Training from full noise is slow and heavy, because you need to save gradients across many steps. ControlNet++ adds noise to real images, then uses a single-step denoise to get a quick preview. It scores that preview with a reward model, and updates the network using that feedback.
The Technology Behind It
In simple terms, the method compares “what the model produced” with “what the guide says.” It then applies a loss that pushes the model to match the guide better. This loss is mixed with the normal diffusion loss so the model does not forget image quality.
ControlNet++ handles tasks like segmentation, canny edges, HED, line drawing, and depth. A small detail matters: some reward models expect special input sizes or normalization. The code shows how to do that per task.
The method also selects which timesteps to receive reward loss. This keeps training stable and cost under control. A scale factor (grad_scale) tunes how strong the reward effect should be.
Performance & Showcases
The paper reports clear gains in control quality. On segmentation, ControlNet++ improves mIoU by 7.9%. For line-art edges, SSIM goes up by 13.4%, and for depth, RMSE drops by 7.6%, all compared to ControlNet.
You can also find GIF demos and side-by-sides on the project page, showing tighter shape control and clean edges. These examples help you see how the guide sticks to the final image in real runs.
Tips for Smaller GPUs
The default setup uses 8 A100 80G GPUs. If you have less, reduce batch size and increase gradient accumulation. The authors report no loss from this trade in their tests.
Lowering image resolution will make training lighter, but it also reduces quality and control accuracy. If you must lower it, do so in small steps and check results often. Keep an eye on memory use during reward training.
FAQ
What do I need to run training?
You need Python, PyTorch that fits your GPU, and the packages installed from the commands above. Follow the exact install steps and use the bash scripts to launch training.
Do I need to download datasets by hand?
No, the data is on Huggingface and will download on-the-fly during training and evaluation. You can still preview it first to check disk space.
How does the “single-step” reward help?
It gives quick feedback from a denoised preview, instead of running full sampling for each update. This saves both time and memory.
Will tighter control hurt image quality?
The method mixes normal diffusion loss with the reward loss to keep quality stable. The reported scores show strong control without hurting image quality.
Which tasks are supported out of the box?
Segmentation (ADE20K, COCOStuff), canny edges, depth, HED, and line drawing. Each task has its own training script.
Is there a quick way to try it?
Yes, use the Inference Branch or the online Huggingface demo. For a light walk-through format, see this short example.
Image source: ing Precision: How ControlNet++ Conditional Image Generation