Automatic Animation of Hair Blowing in Still Portrait Photos
What is Automatic Animation of Hair Blowing in Still Portrait Photos
This project brings still portrait photos to life by adding gentle, natural hair motion. It focuses on hair strands and wisps, and then moves them in a way that looks smooth and pleasing.

It was created by a team from ByteDance and KAUST. To learn more about the company behind part of this work, see ByteDance.
Automatic Animation of Hair Blowing in Still Portrait Photos Overview
This work treats hair as many small wisps. It first finds these wisps, then animates each one, and blends everything into a short video. The goal is clean motion without odd flickers or warped faces.
| Item | Details |
|---|---|
| Type | Research project and method for animating hair in a single portrait photo |
| Purpose | Turn a still headshot into a short clip with moving hair |
| Inputs | One portrait photo |
| Outputs | Short animation/video with hair that moves |
| Main Features | Instance-based hair wisp extraction, wisp-aware animation, artifact reduction |
| Who Is It For | Creators, photo apps, social media teams, researchers |
| Authors | Wenpeng Xiao, Wentao Liu, Yitong Wang, Bernard Ghanem, Bing Li |
| Institutions | ByteDance Inc; King Abdullah University of Science and Technology |
| Project Page | https://nevergiveu.github.io/AutomaticHairBlowing/ |
Automatic Animation of Hair Blowing in Still Portrait Photos Key Features
- Instance-based hair wisp extraction: The method breaks hair into small parts (wisps) and finds them with a smart segmentation model.
- Wisp-aware animation: It moves each wisp with patterns that look natural and gentle.
- Clean results: It reduces artifacts around the face and background, so the focus stays on hair motion.
- Automatic process: No manual masks or hand-tuned paths needed on typical photos.
Read More: Omnihuman 1.Com
How It Works
The method runs in three steps. First, it detects and segments hair wisps as single items. Second, it animates these wisps with steady motion that looks like a breeze. Third, it blends the wisps back with the person’s face and background to make a short video.
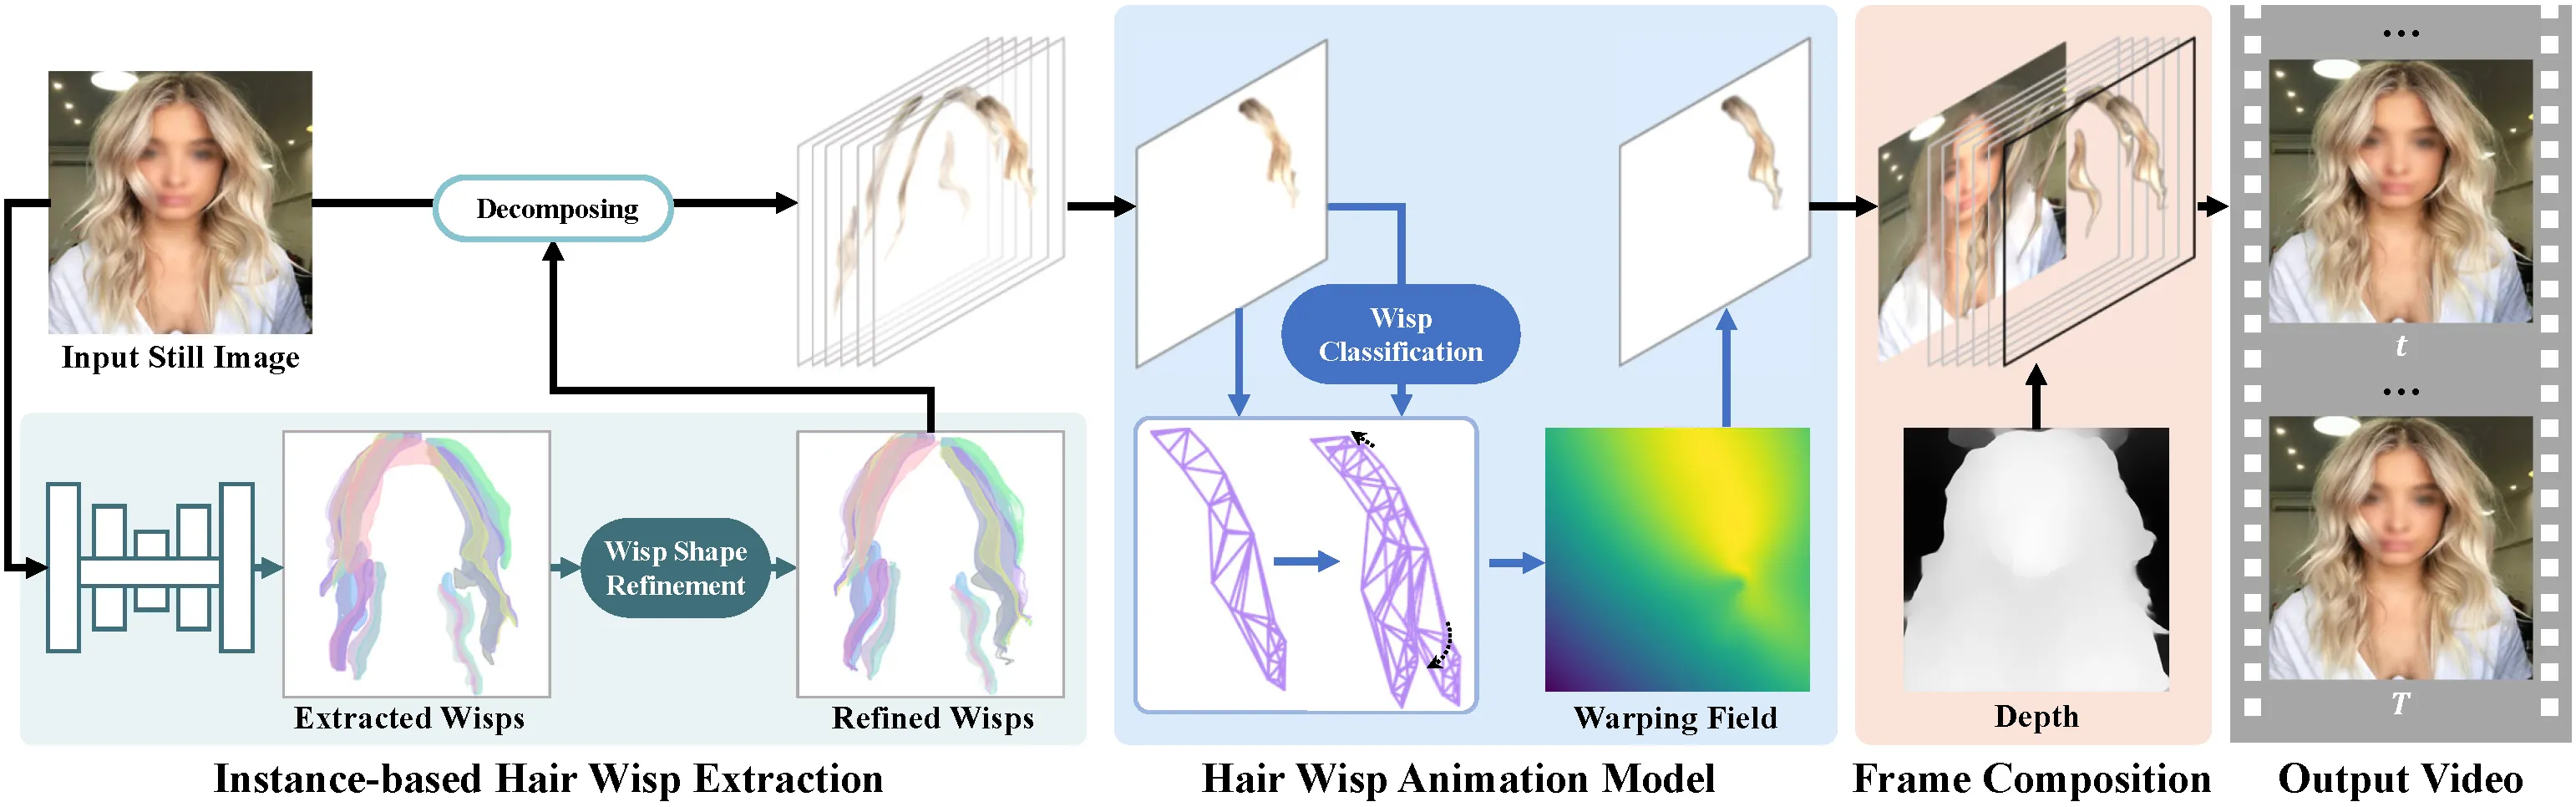
This approach keeps hair detail without breaking strands apart. Treating wisps as separate items gives better control over direction, speed, and timing. The final blend aims to keep skin tones, edges, and lighting stable.
The Technology Behind It
Hair structure is complex, with thin strands and overlapping layers. The team uses an instance segmentation network to find and split hair into many small units. This lets the system move tiny regions rather than a single mask.
For motion, a wisp-aware module predicts how each unit should shift over time. It then composes the full clip, handling edges and soft transitions so the motion feels steady.
Automatic Animation of Hair Blowing in Still Portrait Photos Use Cases
- Profile photos and avatars: Add gentle hair motion for social posts or profile banners.
- Marketing and media: Turn a still headshot into a looping clip for ads or promos.
- Photo apps and filters: Offer an auto “breeze” effect in mobile or web apps.
- Research and education: Study motion from a single image and compare methods.
Performance & Showcases
Below are short clips from the project page. Each entry states exactly what the label says and shows the effect in action.
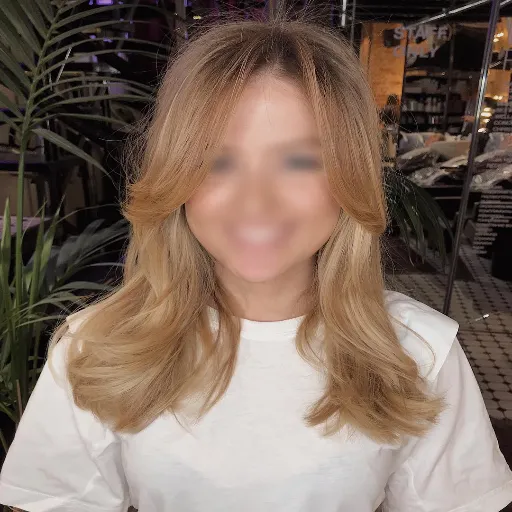
Abstract shows the core idea: hair wisps are found and moved in a natural way from only one photo. The motion is gentle, with attention to tiny strands and edges. You can see the overall goal and outcome in this short clip. Showcase 1 — Abstract
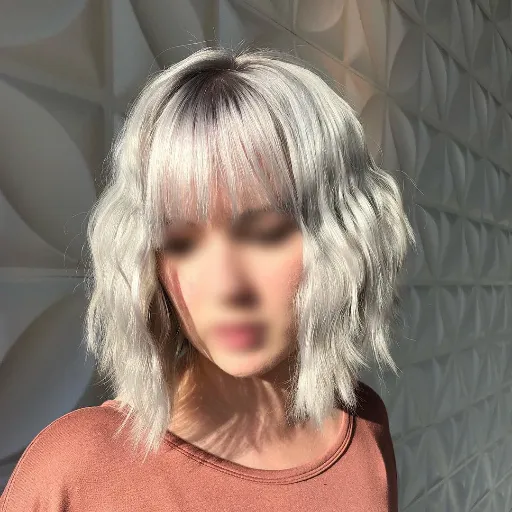
Quantitative Comparisons shows side-by-side results that compare this method with other approaches. These comparisons focus on motion quality and clean details. Look for fewer artifacts and more stable hair movement. Showcase 2 — Quantitative Comparisons
Quantitative Comparisons shows more examples that stress how the method handles different hairstyles. It keeps edges and texture while animating fine wisps. This helps you judge quality across many cases. Showcase 3 — Quantitative Comparisons
Quantitative Comparisons highlights differences in smoothness and detail preservation. Notice how the strands move and how the face stays clean. The clip gives a clear sense of motion control. Showcase 4 — Quantitative Comparisons
Quantitative Comparisons continues with new portraits and hair types. The focus is on how well the motion fits the shape of hair. Look for steady movement without odd warps. Showcase 5 — Quantitative Comparisons
Quantitative Comparisons wraps up with more tests, showing consistency across scenes. The aim is stable, pleasing motion with minimal noise. This clip underlines that goal. Showcase 6 — Quantitative Comparisons
Getting Started: Installation & Setup (from related single-image video code)
Below are exact notes and commands from a closely related open-source codebase used in the field. These steps help you try single-image-to-video methods locally and compare results. The text and commands are quoted as-is for accuracy.
Dependencies
-
Python (we used version 2.7.12)
-
PyTorch (we used version 0.4.0) NOTE: Default grid_sample behavior has changed to align_corners=False since PyTorch 1.3.0. Please specify align_corners=True for the grid_sample functions in test.py and train.py if you use newer PyTorch versions.
-
OpenCV (we used version 2.4.13)
-
scikit-learn (we used version 0.19.0)
The other dependencies for the above libraries are also needed. It might work with other versions as well.
Animate an image (exact instructions and commands) Download the pretrained models(mirror), put them into the models directory, and run test.py by specifying an input image and an output directory, for example,
python test.py --gpu 0 -i ./inputs/1.png -o ./outputs
Three videos (looped motion, flow field, and final result) are generated in the output directory. Output videos might differ according to latent codes randomly sampled every time you run the code.
You can also specify latent codes manually from the pre-trained codebook using simple scalar values for motion (-mz) and appearance (-az) in [0,1], for example,
python test.py --gpu 0 -i ./inputs/1.png -o ./outputs -mz 0.9 -az 0.1
Training new models (exact command) Run train.py by specifying a dataset directory and a training mode.
python train.py --gpu 0 --indir ./training_data/motion --mode motion
Trained models are saved in the models directory.
Fore more optional arguments, run each code with --help option.
Tip: Use these outputs to benchmark hair motion quality and stability. You can compare flow fields and looped clips to assess how well motion follows image structure.
Practical Tips for Best Results
- Use clear, high-resolution headshots. Hair edges and texture should be visible.
- Avoid busy backgrounds that are too close to hair. Clean edges help the blend.
- For very curly or messy hair, try multiple takes and keep the best one.
Frequently Asked Questions
Do I need to draw masks by hand?
No. The method finds hair wisps for you. It then moves them without extra user work in most cases.
Can it work on any photo?
It works best on portraits with clear hair edges and normal lighting. Very low light or heavy blur can make results weaker.
How long is the output?
It is a short clip that can loop well. You can repeat it to make a longer loop.
Will it change the person’s face?
The focus is on hair. The system aims to keep the face stable and free of strange shifts.
Read More: About
Why This Matters
Moving hair from a single photo adds mood and style to portraits. It is fast to apply and easy to share on social media. For creators and teams, this saves time while keeping a polished look.
Final Thoughts
This project shows a simple idea done well: find hair wisps, move them wisely, and blend carefully. The outcome is clean and pleasing motion from just one picture. If you build photo tools, this is a strong effect to add.
Image source: Automatic Animation of Hair Blowing in Still Portrait Photos